
Here is my assembled items. Fabric, an assortment of ribbons and lace and crushed walnut shells for the filling.

First you cut out a circle, I just used a cereal bowl.

Next I sewed a few ribbons across the circle.

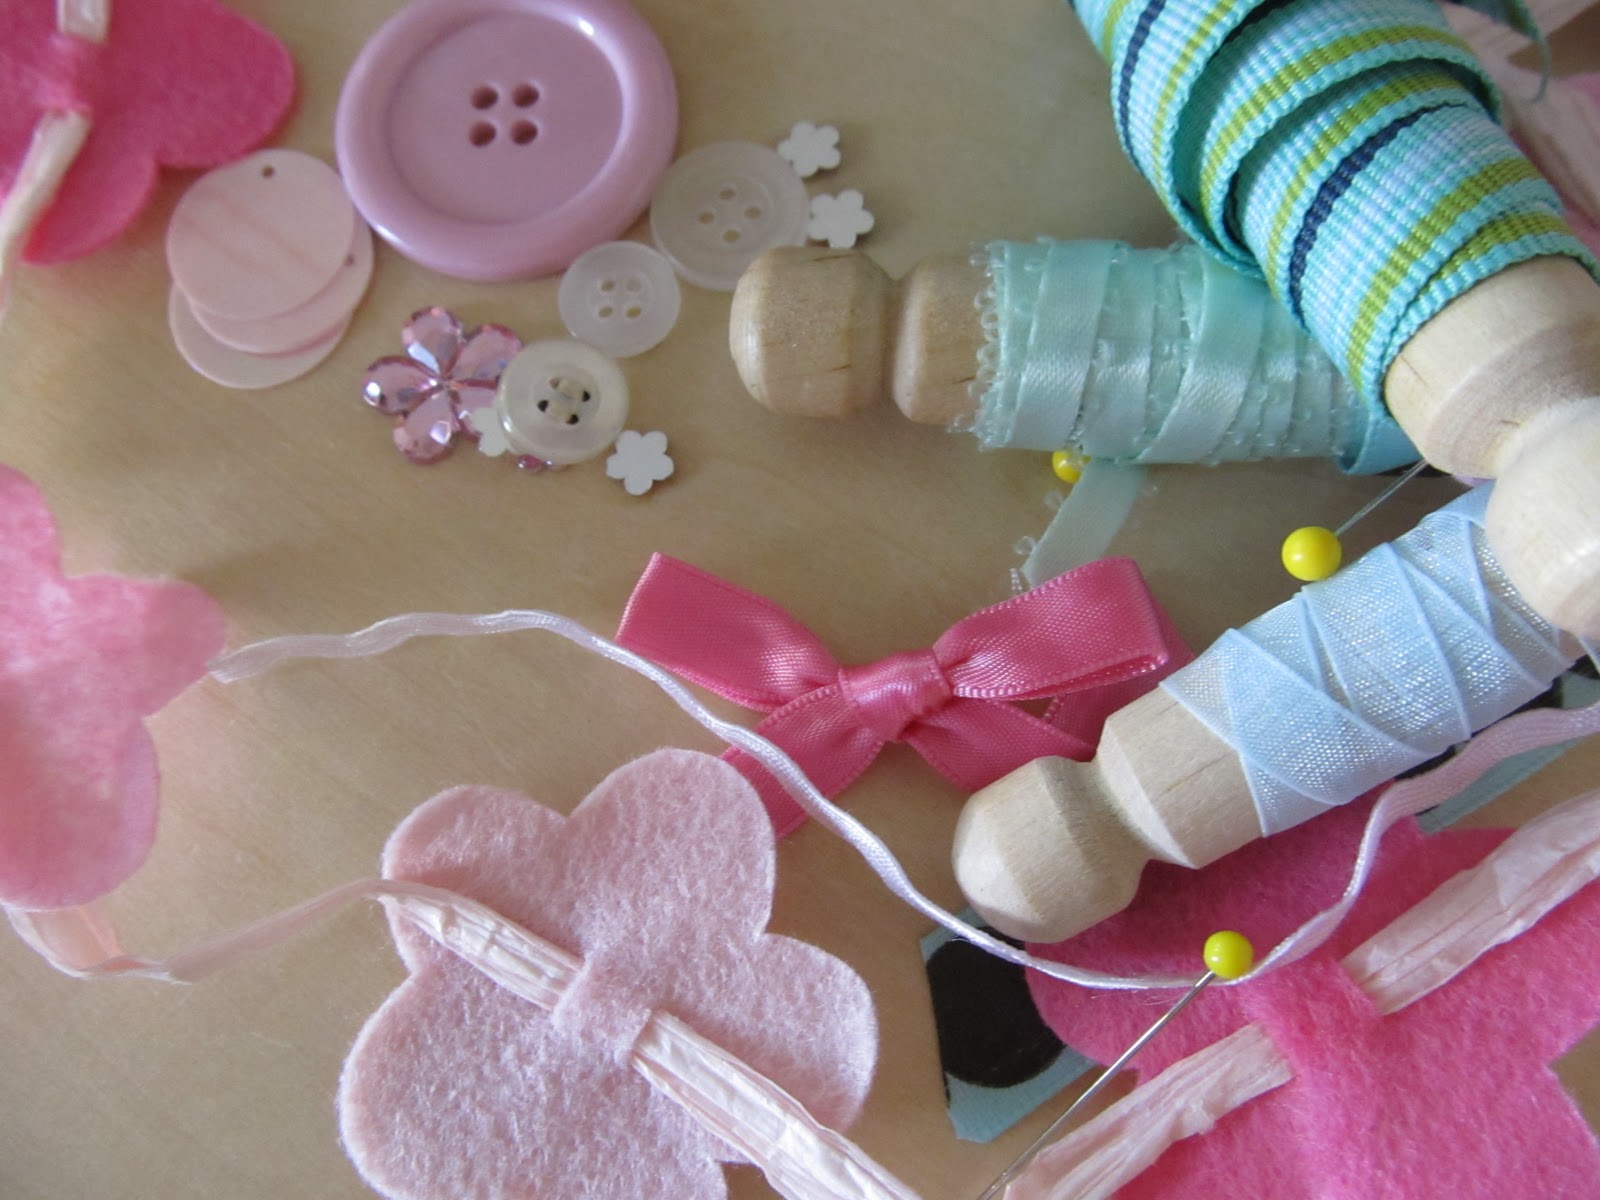
Thought you'd like to see a close up.

Sew around the edges, leaving a bout a 1 1/2 to 2 inch opening for turning and filling. I also zig zagged the edge to make it stronger.

Turn the circle so the cute out side is displayed. Then fill it full of crushed walnut shells. Full, but not too full. You still have to close the dang thing.

Stitch the opening closed.

Here it is all filled, but it is not finished yet!

Next you take some sort of thick thread and sew six little stitches and make a pie shape. I had to get out my needle nosed pliers to pull the needle and thread through the center.
It was that tough!

I grabbed an assortment of embellishments. I did not use all of these, but you get the idea.
Then embellish. I glued the pieces right on top. This covered up the knot from the stitching.Viola.


Beautiful pin cushion.
PS--this was a gift for my Beautygirl for her birthday. She just turned 12 and I bought her a sewing machine. She just LOVED both the machine and pin cushion!
So cute! And who knew it would be so easy to make...
ReplyDeleteYou should try it.... It was fun!
ReplyDelete