Showing posts with label organization. Show all posts

Thursday, March 19, 2015

Car Orginization

So, I have something to confess.   I live in my car - mostly.
Have you ever been driving along and tried to find something under the car seat, just to be frustrated by all of the trash, junk, random shoe and flashlight that you find.  But you could not locate that item you REALLY needed.  I have ..... over and over again. I was fed up!  How could I compartmentalize my things, and still have easy access.  Then the light donned.
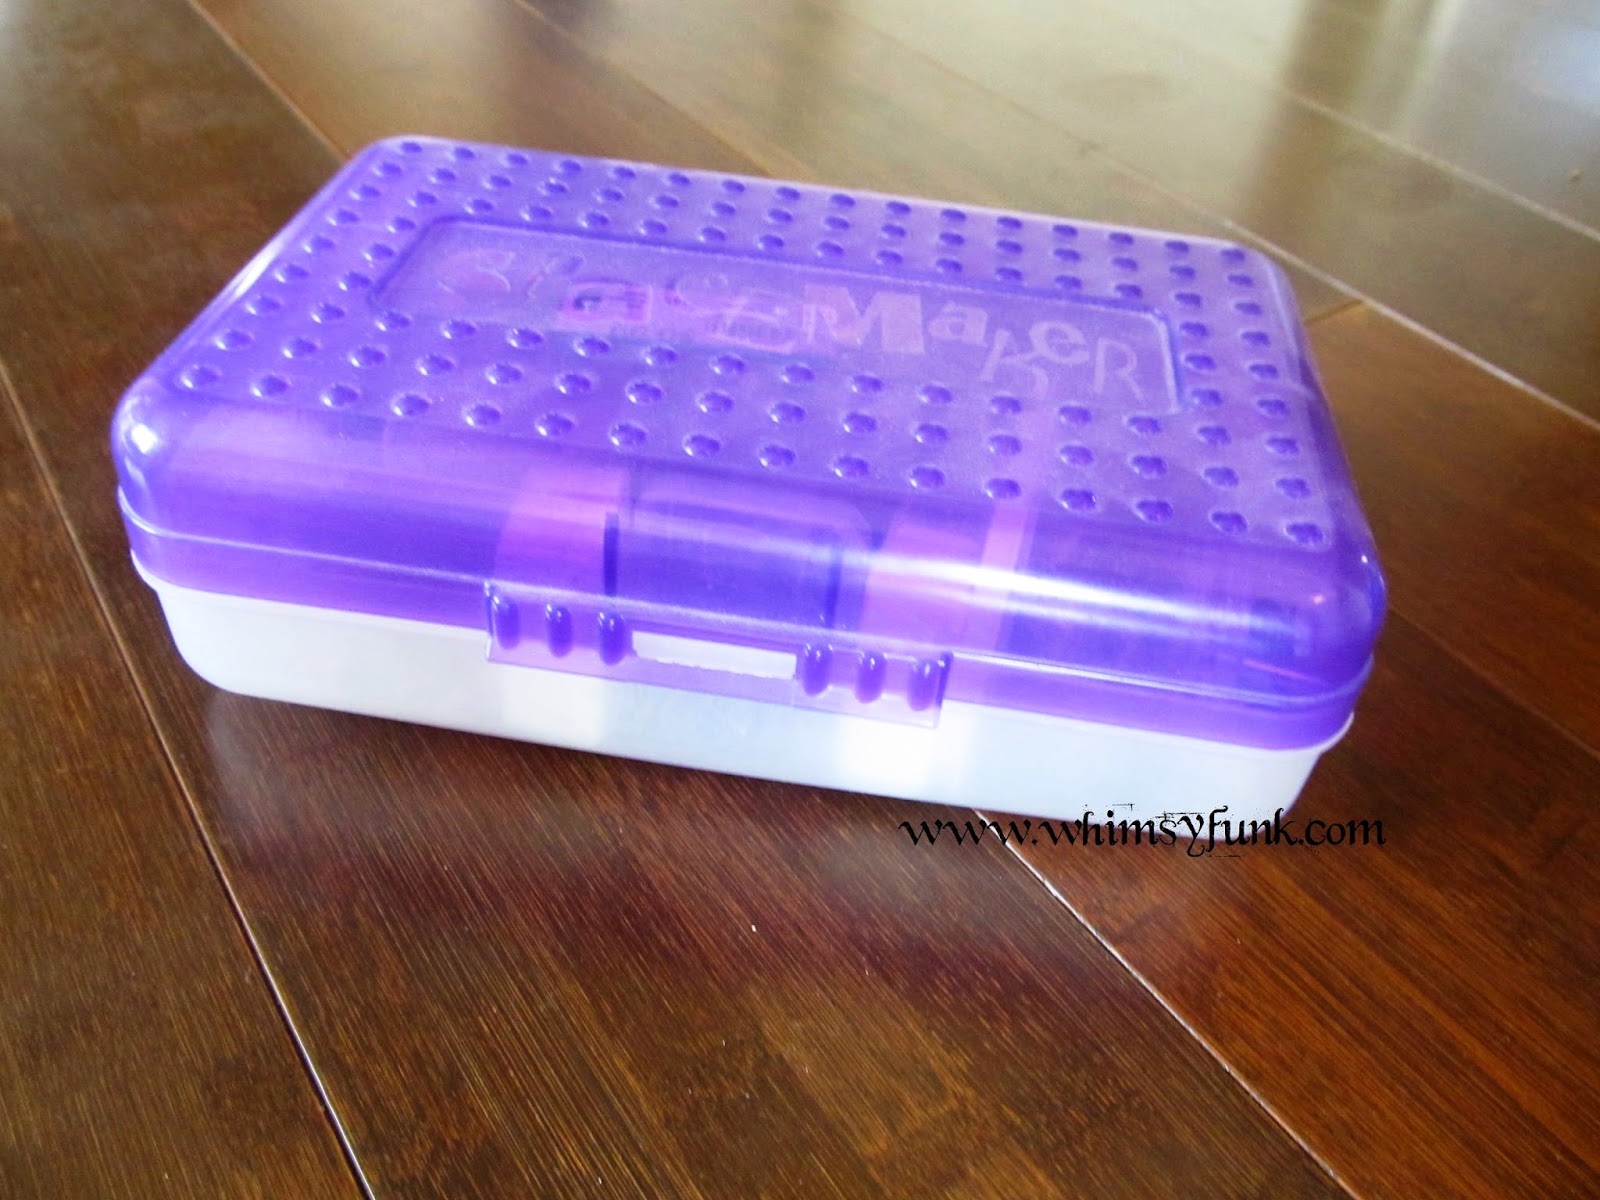
                                                             Plastic pencil boxes.


This has been so handy to grab a box, Find what ever I need, AND be able to put it back where I need it to go!

Tada!

- Tara

Monday, February 25, 2013

Office Orginization Center


I found my original inspiration picture. This was from a Pottery Barn Catalog, several years ago. As I mentioned in the previous post, I did a few things different, but this was where my inspiration came from.


This is a picture of MY organization center. I have added a spot inside where I can place the items to be filed (which I did not have before) and I am adding some cork to the inside panel. At first I did not want to do that, but I found I was taping items up and that was not working as well as I wanted it to.

As for the magnetic panel, that is working really well.

All in all, I am pleased. I can still have my bills and other items accessible, but then I can close the doors and everything looks organized and cleaned up.

 
This has worked out really well.

Saturday, January 12, 2013

Bi-fold doors - Now... Corner Shelfs!

What do you do with old bi-fold doors.  Make storage... of course.


By taking the doors and making a 90 degree angle, a nice corner unit is created. I cut triangle pieces of plywood and mounted them in the cabinet using a 1X1 as the bracket to hold them in place. Then the whole thing got a lovely coat of white and some molding was added to the top for the required "cute"ness.
Tada - a corner shelf unit.  Not too bad.  And it uses space that was otherwise wasted.   

Update: since these shots were taken, the corner unit has move into my office.

Thursday, October 25, 2012

New?...Storage....LUGGAGE

I am sick and tired of the storage "solutions" being damaged or just is not the right size....

Well. I have found a solution. I am taking luggage (solid) and painting them to fit my beauty girl's color scheme. Now we have Polly pocket storage, barbie storage, stuffed animal storage and art supply storage. And all of it fits under her bed. By having all of this luggage taking up all of the room, it helps keep other things from being shoved under the bed.
(After all, that is the meaning of cleaning your room. Push it under the bed and no body will be the wiser. Right?!)

Anyway. On to the process.

  • Find old luggage.

(I happened across this really nice set of Samsonite. The insides were in prime condition. a little wash and good as new.)


  • Lightly sand the out side shell.

(tape off anything you want to keep paint off of. I taped the handles and latches.)

  • use "good" spray paint. I used Krylon.

(several coats will be necessary. I should have primed the luggage first. Then I would have only used One can of the ballet slipper pink. But none the less, I did need two cans of paint for three pieces of luggage.)

Now for the cream. I could not find a crown to save my life and I did not want to have PLAIN luggage storage. It needs a little whimsy. I made a stencil out of laminating film. After I used a good sharp exacto knife and cut away the pieces that would show on the luggage, I taped the stencil into place. This is where I used a different color of paint. Bronze? I think was the color. But It goes great in her room. And Yes! I did have to cut out a second crown stencil because my first one was too big to fit on the train case (which houses the small Polly pocket dolls).

We have filled the suitcase storage and now have some great places to keep her stuff. UNDER the BED! Hooray!!!

Organize a little girl's room....

This is the never ending project...."Lets organize your room"

My Beautygirl wants to keep absolutely everything that has ever passed through her hands. So we are working on a system to make her room more organized. (I can always dream)

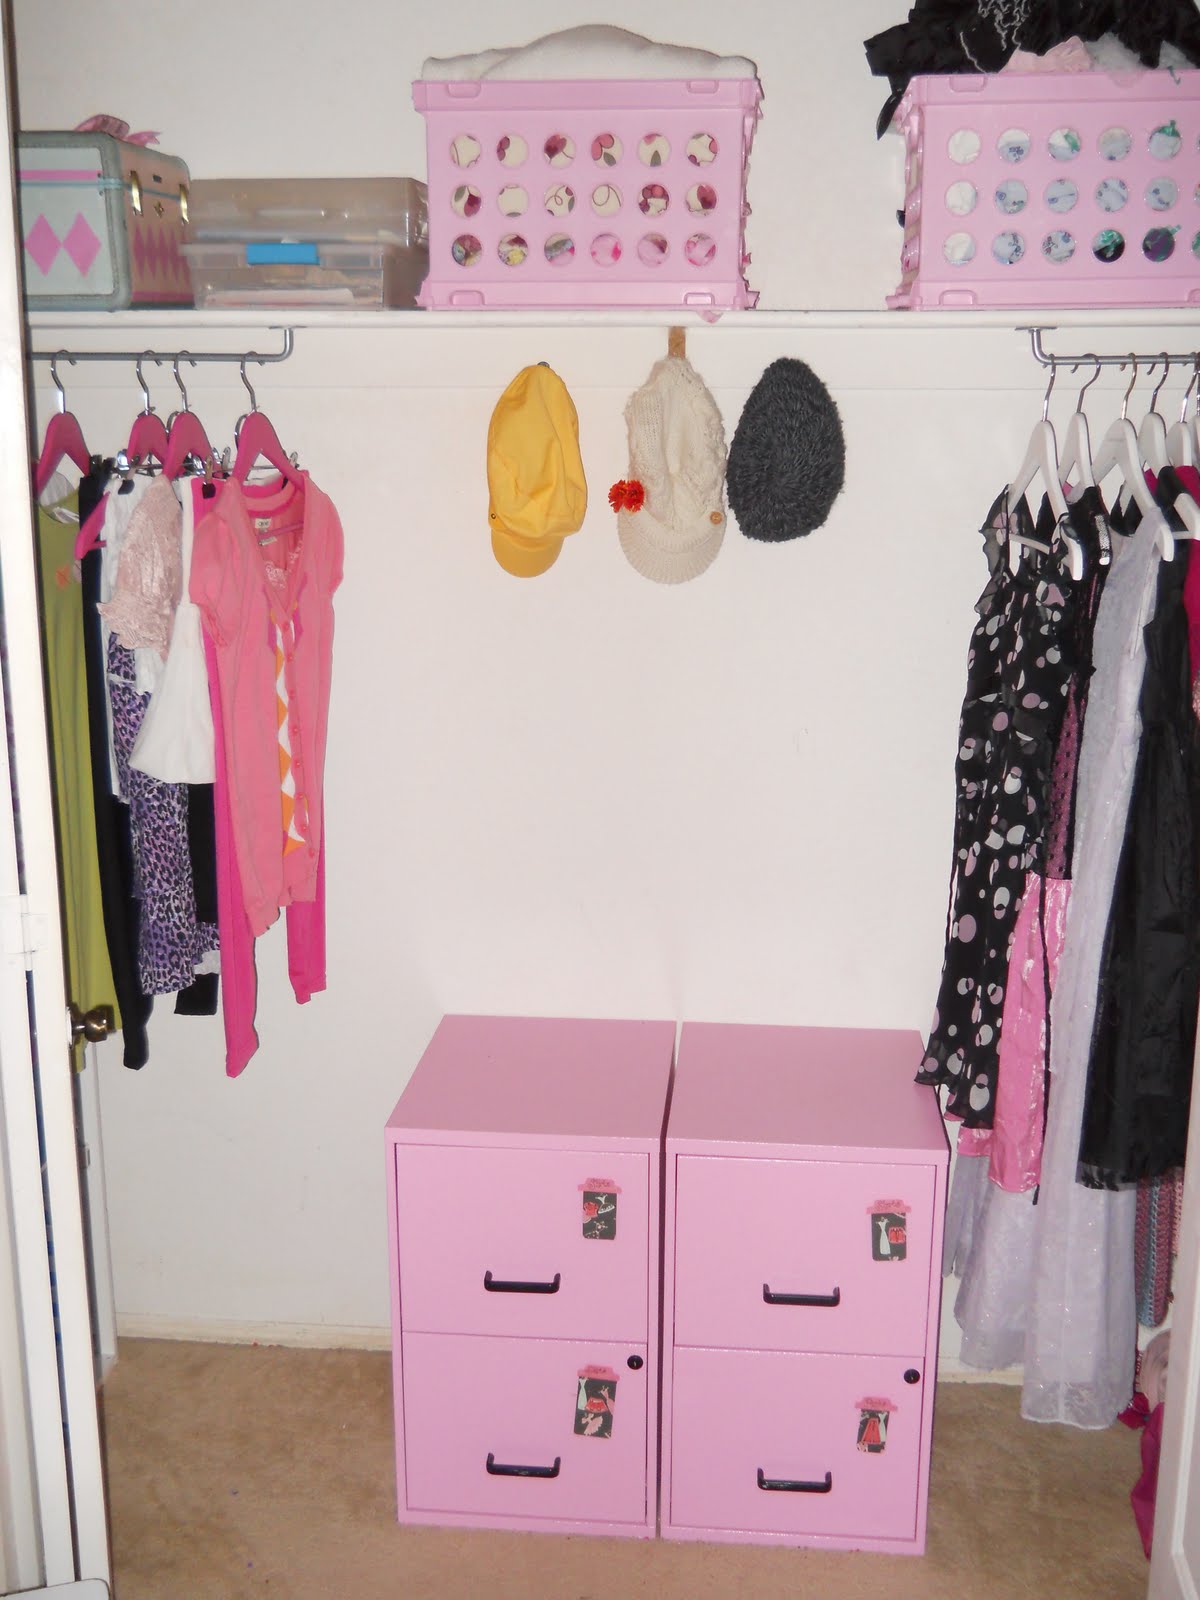
This is the dresser. It is two small file cabinets that are metal.


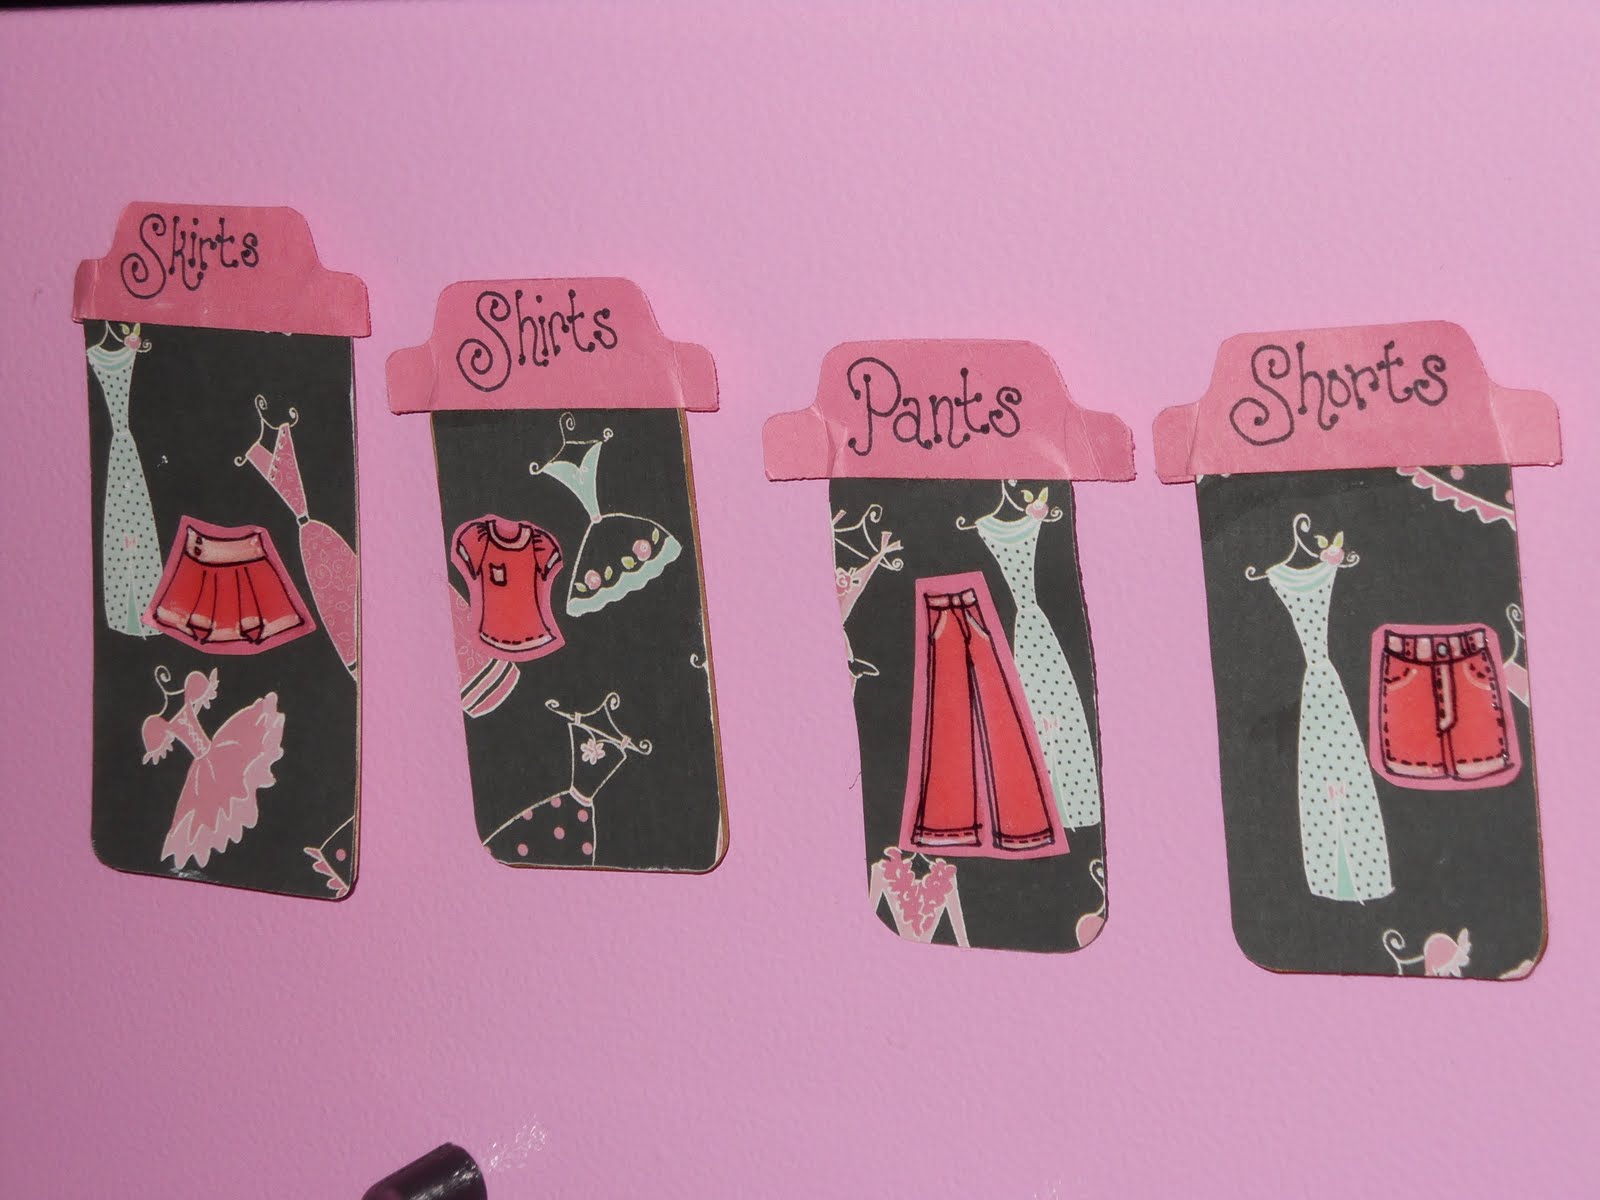
We have attached tags made out of those lanolin samples. (No I did not steal them. I got them when I was working on a project for school.) A little magnet is glued to the back.


Hopefully, the tags will help the clothes go into the right home.


Also, we took down the huge rod in the closet.
It was warped in the middle. Instead we hung two towel rods from Ikea. We just placed them upside-down and screwed them into the wood shelf.


This way we could divide and conquer her stuff. School outfits on one side. Dresses, coats, etc... on the other.


On the top shelf, there are a few plastic file cubes. Of course we are not hanging files in them. One houses extra blankets and bedding. The other is home to dress-up clothes.


We did install a belt thingy...to hang the belts from.


We have a long way to go. We already did under-the-bed storage, which went really well. (If you want to see the under-the-bed storage, look for the label "luggage".)


So... What do you think?

Soda Pop Tops

Storage...


I recently needed to be able to hang more things in my Beautygirls closet. I create outfits for school, so the torment of the morning routine is lessened. But! Problem....

How do I get the outfits to hang together. If I hang the skirts on the bar of the hanger, the shirt wrinkles and hides what is under it.


Here comes the awsome part! take a pop top and use it as a hanger connector. Cheep!!!! and the clothes hang like a dream.


Viola...

--Tara