Tuesday, January 15, 2013

Lil' Grey sweater - makeover

This little girls sweater was $3.74. My little girl needed a longer sweater than what she had, but finding one was a trick. I saw that there were many people "fixing" sweaters to meet their needs. So I thought it was a great idea and did it too. It is an easy craft idea too. I took the sweater and sewed two zig-zag stitches down the middle, next to each other. I then cut between the stitches. I added a button and small string to hold it closed. Also, I rolled the sleeve cuff up about three inches.

....... New knee length sweater for my little beauty girl! As she was getting out of the car to go to school, I heard one of the teachers comment to her, "Cute sweater". That did my heart good!


-Tara


Here are some shots of my beauty girl in her sweater.

Saturday, January 12, 2013

Bi-fold doors - Now... Corner Shelfs!

What do you do with old bi-fold doors.  Make storage... of course.


By taking the doors and making a 90 degree angle, a nice corner unit is created. I cut triangle pieces of plywood and mounted them in the cabinet using a 1X1 as the bracket to hold them in place. Then the whole thing got a lovely coat of white and some molding was added to the top for the required "cute"ness.
Tada - a corner shelf unit.  Not too bad.  And it uses space that was otherwise wasted.   

Update: since these shots were taken, the corner unit has move into my office.

Thursday, January 3, 2013

Slippers on my feet


I have been wanting some comfy slippers.  I have been cold!  Last year I found a pattern for slippers and made them for every member of my family (except me).  The pattern was difficult and did not work, so  I started from scratch and made up my own pattern.  (I call them new years slippers).  This new pattern worked out so much better.

 I used left over fuzzy fabric for the insides (which is why the fluff at the sole and sides do not match).  


These boot slippers can be left up to make a tall boot, 

or folded over to make booties.  


Either way works well and I love them. 


Fashion - Dollar Dress

Dollar Dress

Now here is something that finally worked!
I bought this sheet at a thrift store on a sale day. I payed one dollar. I then preceded to make a dress out of it. It is a pullover with elastic at the waste. I made up the pattern.   It is all cotton, perfect for Arizona! No zippers or buttons! The only thing that I had to spend extra on was the rick rack on the edge. Other than that, I did not spend anything. I used up supplies I had (thread, elastic)


The sleeves were gathered up (because they were too long) which ended up looking pretty cool. I made a few changes. I moved the rick rack from the neck to the hem line. Here is a close up of the sleeves and hem.

I get comments on it every time  I wear it.  

Tuesday, November 6, 2012

Laundry soap! Mix it up!

When I do laundry, I have to use some sort of color safe bleach or oxygenated laundry booster so I don't get the leftover stinky smell.  I much prefer to dry my face with a cloth that is spring time fresh, not mildew-y.

I have some "help" sometimes.  In fact, my big ol' boy does all of his own laundry.  
Yeah ME!

That being the case, I do a little trick. I mix the laundry detergent and the laundry booster in three easy steps.  This way, none of the laundry stuff is wasted.  Let me show you.

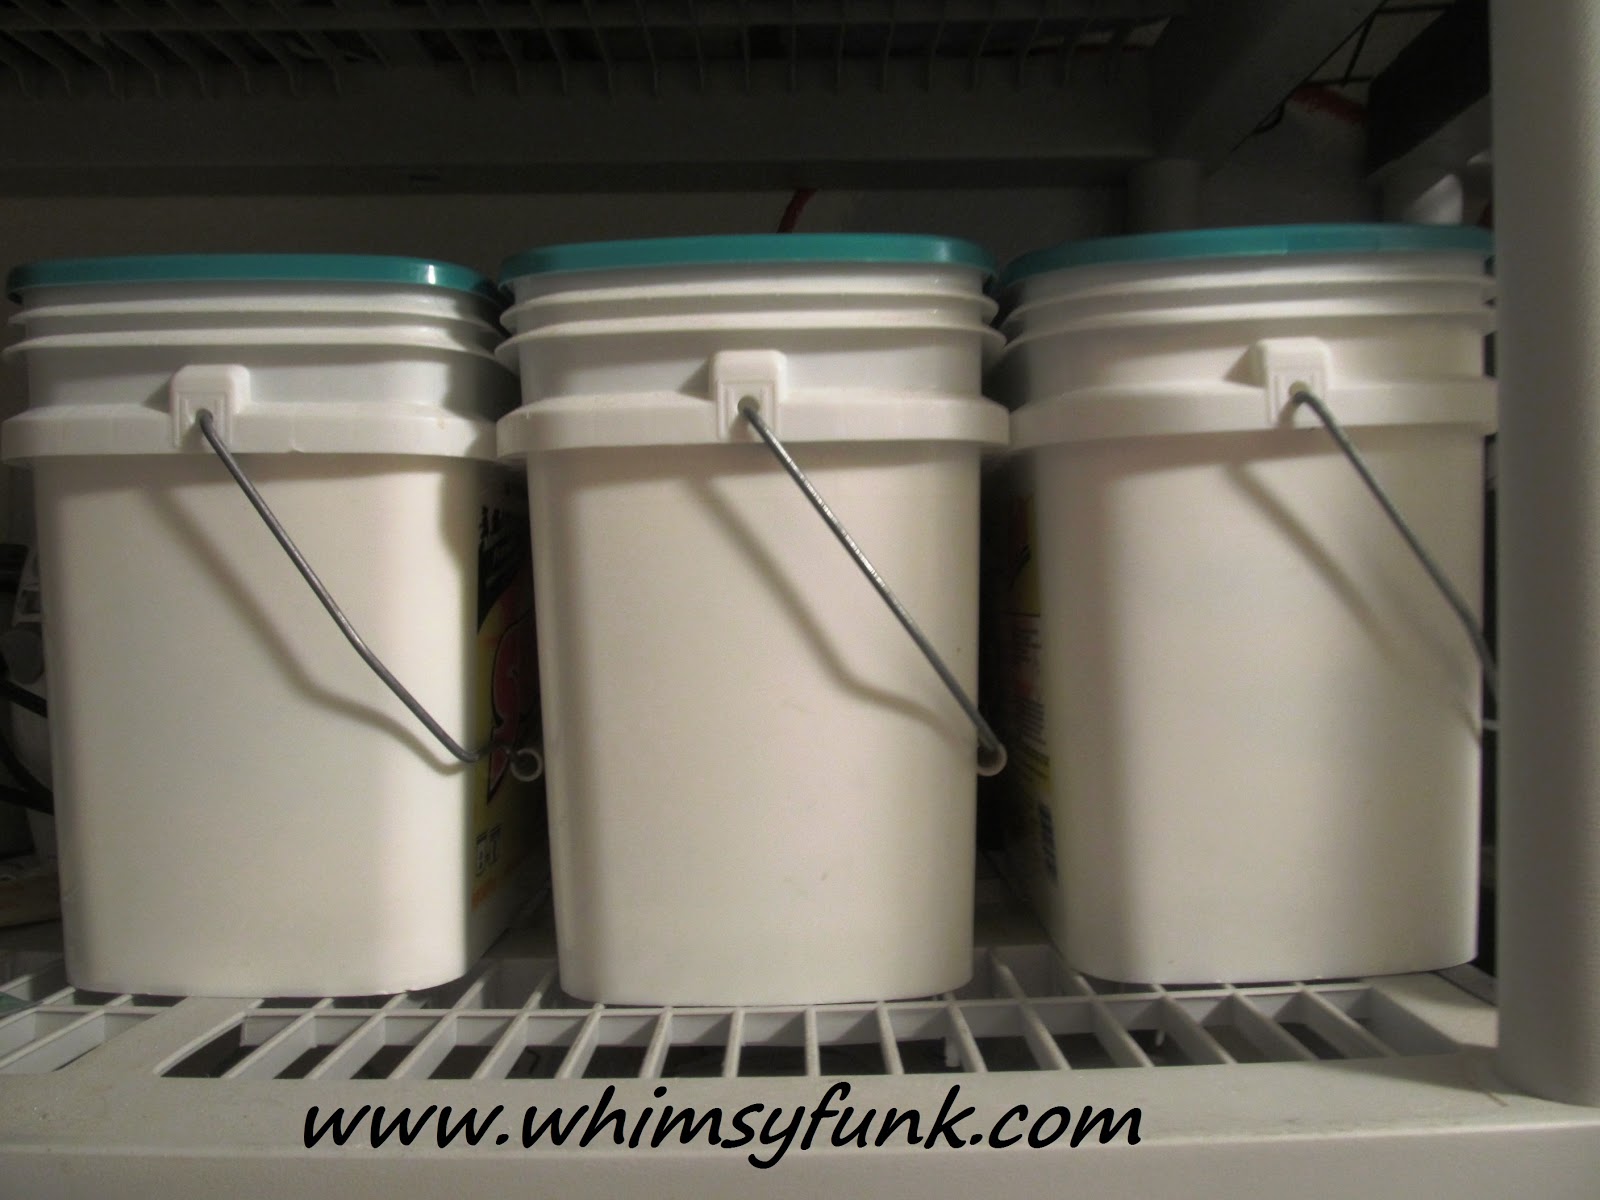
You will need twice as much laundry detergent as booster.  I use Sun and Purex II.....AND a bucket with a lid (or other container that is big enough to hold the combined stuff) 


First:  take a 2:1 ratio.  Two parts of the laundry detergent.  One part laundry booster.

Second:  I like to alternate the soaps as I pour.  This helps with the stirring later. 

Third:  Put the lid on...tight.  And Shake!


Finished:  Now use just one scoop in each laundry batch.  The ratio is perfect.   


The clothing comes out smelling spring time fresh.


Make it a great day!
Tara

P.S.
I know it would look so much more chic if I used a decorative container, but the rectangle shape of the buckets fit really nicely in a neat little row on my shelves. Plus, I am recycling or reusing instead of tossing them into the trash.  I usually keep 3 of these buckets filled on my shelves, as part of my emergency preparedness.


Thursday, October 25, 2012

Painting a Castle


OK... this was a few years back, but I had so much fun doing this.   I worked on this mural for a little girls room with two of my sisters.  They worked on the village. 


I painted the castle.  
Preview

The trick to painting a wall with fun stuff is scale.  Too big, and it overpowers the room.  Too small and, well it disappears.
 
This was done in Sundee's little girl's room.

Don't you just love the little pony tails!


New?...Storage....LUGGAGE

I am sick and tired of the storage "solutions" being damaged or just is not the right size....

Well. I have found a solution. I am taking luggage (solid) and painting them to fit my beauty girl's color scheme. Now we have Polly pocket storage, barbie storage, stuffed animal storage and art supply storage. And all of it fits under her bed. By having all of this luggage taking up all of the room, it helps keep other things from being shoved under the bed.
(After all, that is the meaning of cleaning your room. Push it under the bed and no body will be the wiser. Right?!)

Anyway. On to the process.

  • Find old luggage.

(I happened across this really nice set of Samsonite. The insides were in prime condition. a little wash and good as new.)


  • Lightly sand the out side shell.

(tape off anything you want to keep paint off of. I taped the handles and latches.)

  • use "good" spray paint. I used Krylon.

(several coats will be necessary. I should have primed the luggage first. Then I would have only used One can of the ballet slipper pink. But none the less, I did need two cans of paint for three pieces of luggage.)

Now for the cream. I could not find a crown to save my life and I did not want to have PLAIN luggage storage. It needs a little whimsy. I made a stencil out of laminating film. After I used a good sharp exacto knife and cut away the pieces that would show on the luggage, I taped the stencil into place. This is where I used a different color of paint. Bronze? I think was the color. But It goes great in her room. And Yes! I did have to cut out a second crown stencil because my first one was too big to fit on the train case (which houses the small Polly pocket dolls).

We have filled the suitcase storage and now have some great places to keep her stuff. UNDER the BED! Hooray!!!